Are you intrigued by our Tiny Box Designer software, but perhaps you are unsure where to start and how to create the perfect packaging? We are here to help you out and guide you through the process!
Adding Background Colour or Pattern
First things first - the background colour of your boxes. If you already have your brand colours you will know exactly what background colour will be most suitable, and you can choose from 21 different colours in the designer, simply drag and drop this onto the 2D box mock-up. If you can't find the suitable colour for your branding from the 21 choices, please let us know and we will certainly try to add this for you. If you don’t have set brand colours, then we recommend looking at your target market and using a colour that would appeal to the potential customers that you are looking to attract. If a solid colour for the background to your gift boxes is too plain for you, then you can use the drop down in the left-hand menu to change ‘select a colour’ to ‘select a background pattern’ where you can choose from 33 different, fun patterns.
Adding Images/Photos/Logos
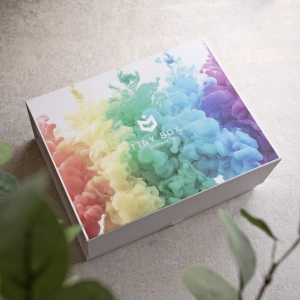
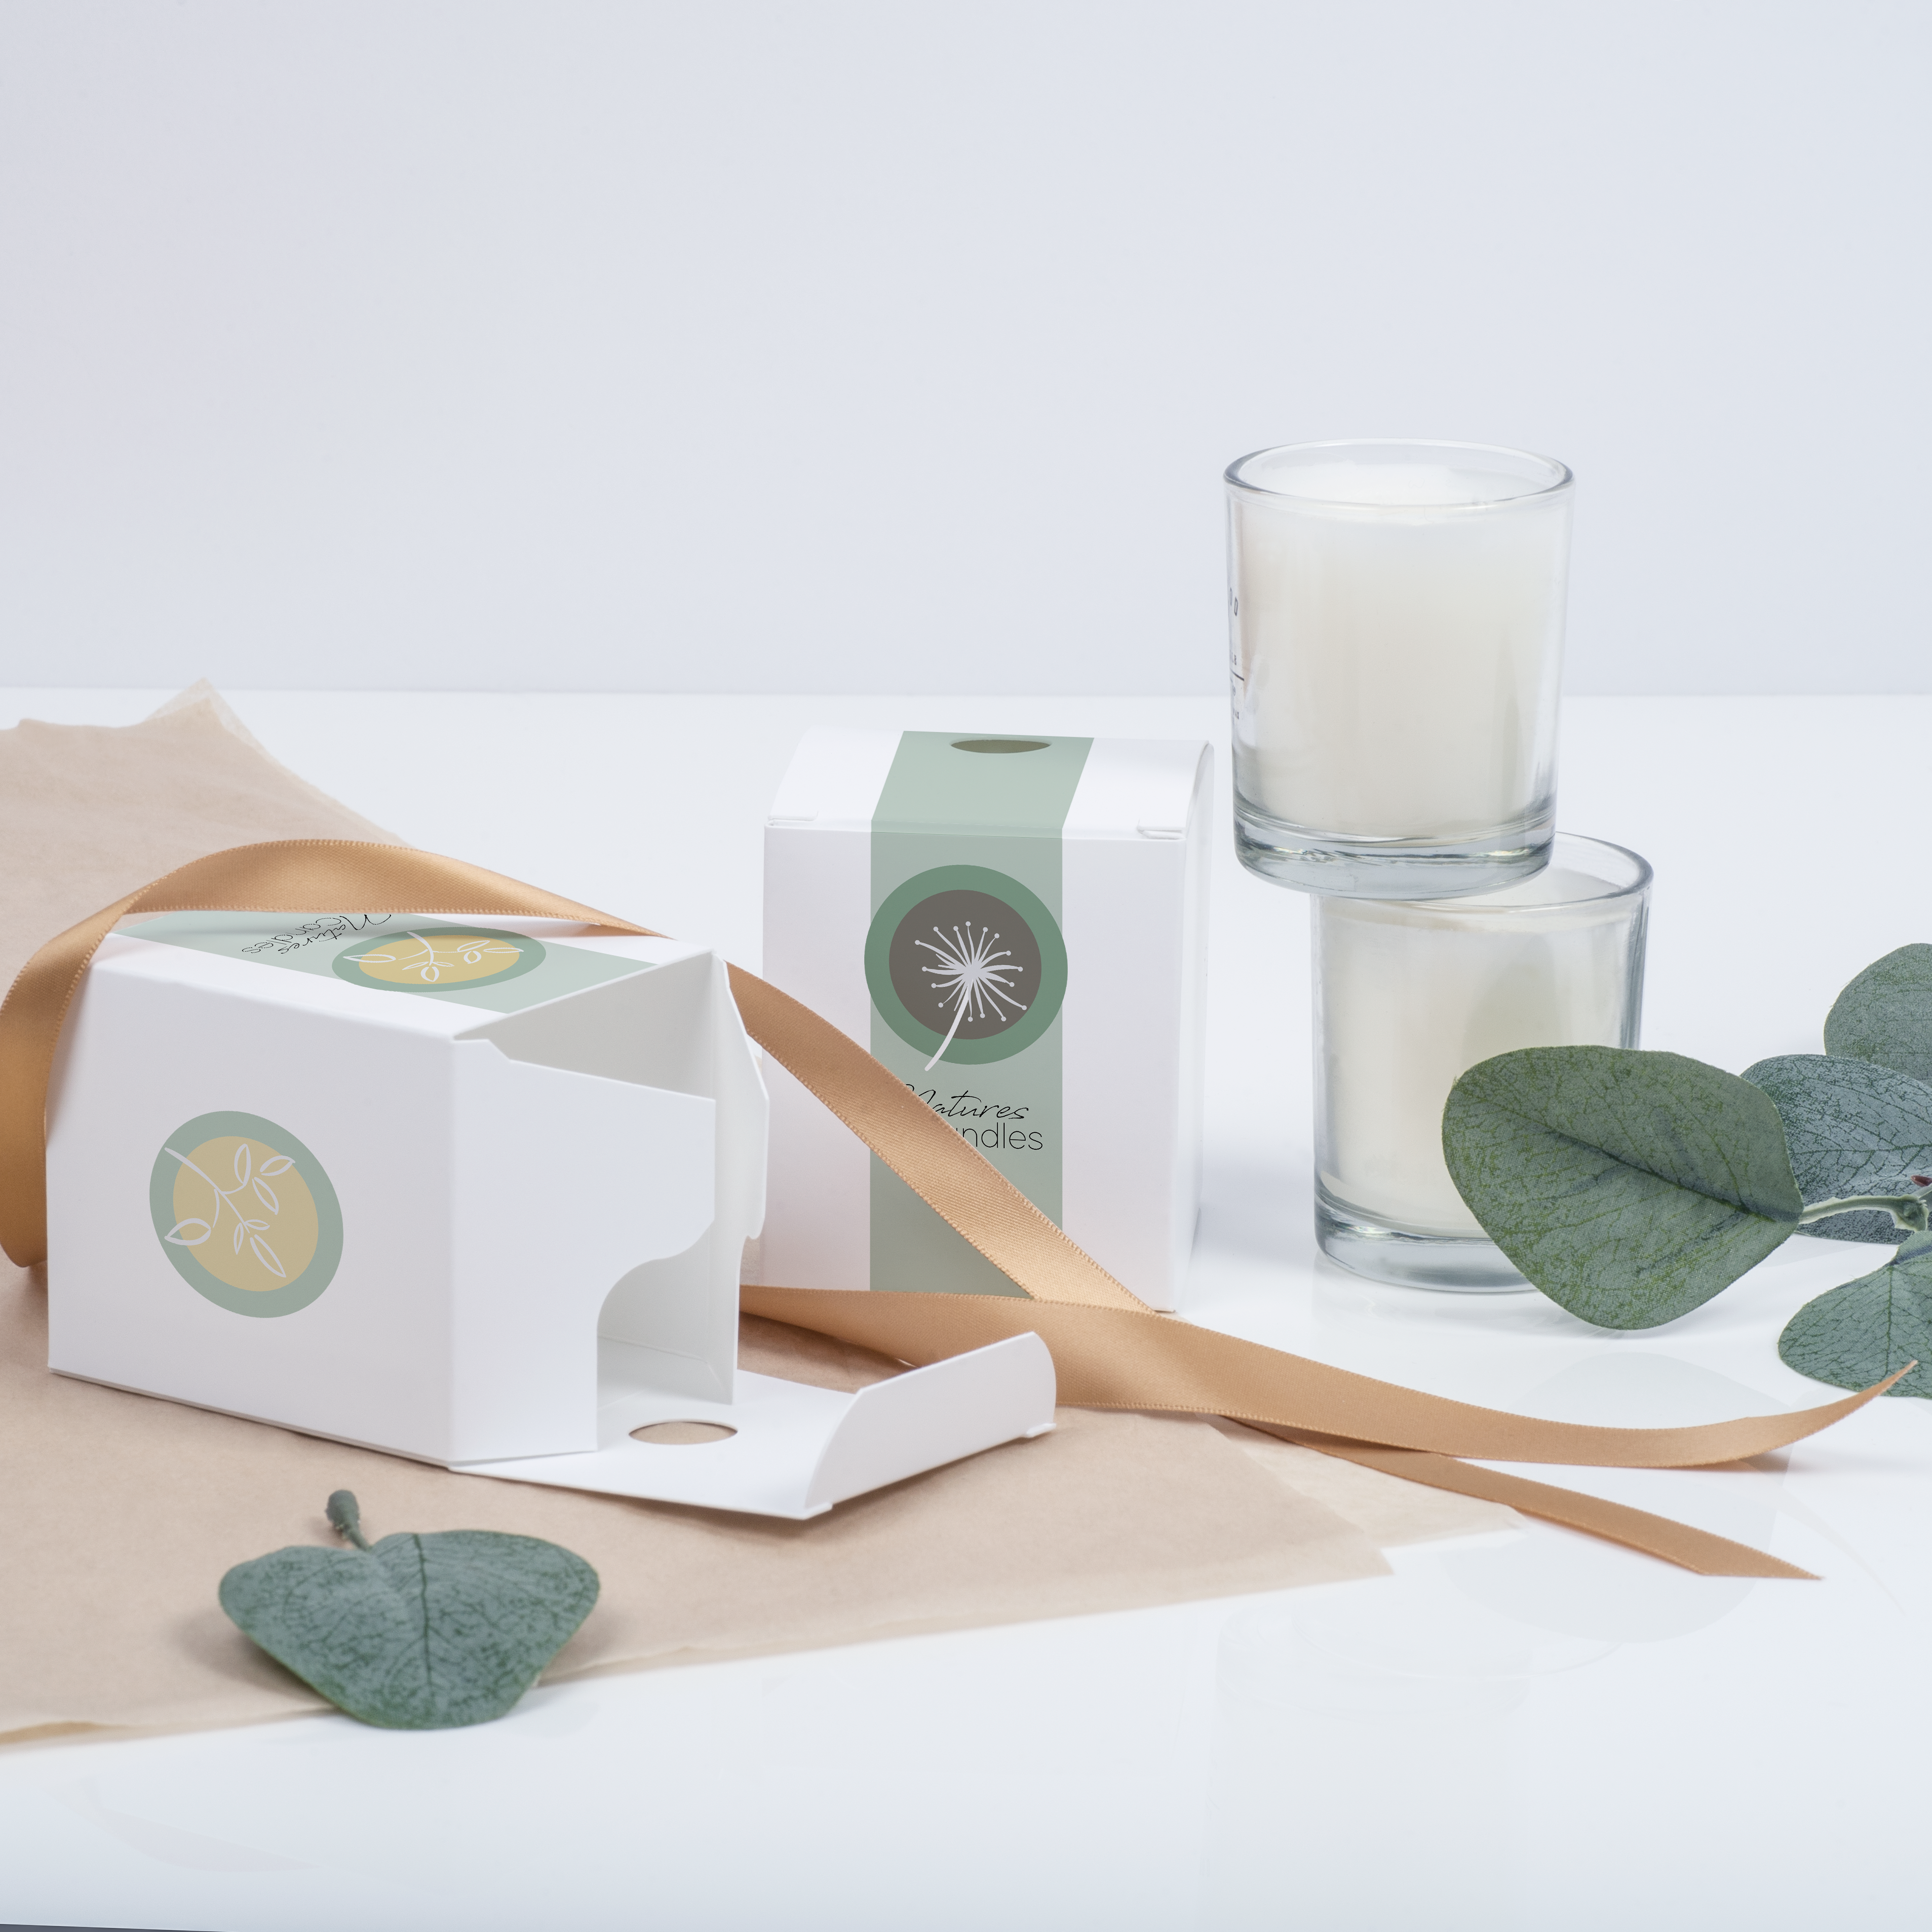
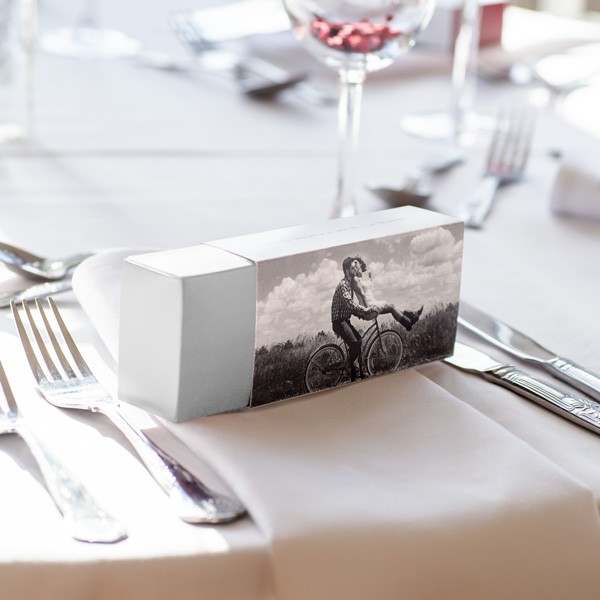
You can add images of your own to the boxes including logos and photos, by clicking on the image tab in the left-hand bar and selecting ‘add image. Again, you can drag and drop these onto the box template and move, rotate and resize them as required. The file format must be at least 300 DPI (dots per inch) and the file type should be .jpg and png. If you are unsure what to add in terms of images we would always recommend adding your company logo and branding if you have one. If you don’t yet have branding or a logo, consider pursuing this or using images or symbols which represent what you will be putting inside the gift boxes. If the gift boxes you are designing are for a special event perhaps add a relevant photo, for example a birthday party might warrant a photo of the special guest, or a box for a christening or naming ceremony could have a photo of the child which that ceremony is being held for.
Adding Text
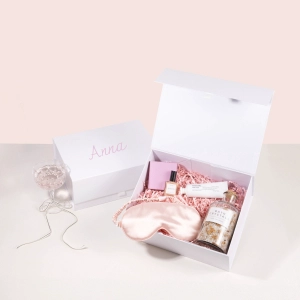
Text can also be added to your box design by selecting the ‘add text’ tab on the left of the top menu bar. A text box will then appear, you can then double click into the text box and type as desired. Once you have typed your text, you can edit this text to suit your needs using the ‘text options’ menu which will appear by highlighting the text and selecting bold or italic, changing the text colour and font, as well as editing the alignment of the text. You can then move, resize and rotate the text box into your required position on the box. Again, we recommend adding any brand wording or text such as a product name and even a company slogan if you have one – you may also want to include details of what will be going into the box, for example ‘Made in the UK’ or ‘100% Recycled’. If you are designing boxes for a wedding or special event then consider adding any relevant names, such as those of the Bride and Groom, or relevant dates, such as the wedding date.
Checking Your Final Design
Once completed, or even during the designing process, we advise using the 3D preview tool in order to check how the box looks. Checking will ensure you have positioned items correctly and help you to achieve a high quality final result. Once the order has been confirmed the design of the boxes cannot be amended, so we ask customers to ensure they ae completely happy with the design before completing their orders.
If you are still stuck on any of the features of the Tiny Box Designer there is a super handy tutorial video to watch, which appears when you start using the designer, giving you an easy step by step guide on how to use the software.
